I think I may turn this into a series of posts, or even an entire site. But I’ll start with one post about the basics.
First, an introduction. I learned to sew in 2006, shortly after I started dating the woman who is now my lovely wife. Part of the reason I learned to sew was, to be honest, in order to find an interest that we both shared. But it’s now grown far past that; I sewed my entire outfit for Texas Renaissance Faire last year: a doublet with detachable sleeves, a high-collar, long-sleeve shirt, and a pair of fitted breeches (pants). I’ve made several shirts, a couple of doublets, and at least 2 pairs of pants. I’ve sewed several small pouches, and I’m currently working on a fairly ambitious laptop bag. I’m not brave enough to commit to making an entire outfit that I’d wear to work, for example, but in my wife’s opinion, I apparently have the skills to do.
I decided to write this post (which as I said may turn into a series, or more) because I know there’s a stigma that sewing isn’t a manly thing to do, or that it’s women’s work, or that you must be gay if you like to sew and are male. So let me set the record straight (no pun intended) from the start: I am a heterosexual male, I am married and have a child on the way, and I enjoy sewing. The act of creating something with your hands, which you or someone else can then wear or use, is fascinating and deeply satisfying to me.
There are many speed bumps and deep pits on the journey from “that sounds like a neat hobby” to “check out this shirt that I just finished sewing”. I’ll do my best to help you navigate around those pits, so that you too can experience the joy of creating something that isn’t made of electrons and doesn’t need to eat. I’m starting today with what I consider the “basic equipment” needed to sew. This is by no means an exhaustive list; it’s instead just the bare bones without which I would likely not start a project. Read the full list, along with some crappy pictures that I took with my phone, after the jump.
Some may say this list is incomplete, or has things that aren’t actually necessary. I will try not to argue with either of those sentiments. This is simply my list of things that I wouldn’t want to sew without. I’m leaving out things like thread, fabric, and patterns, because those will all change depending on your project.
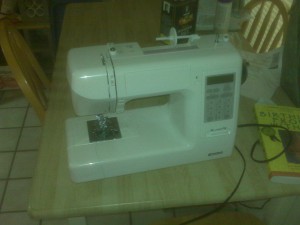
So. First thing first, you’ll need a sewing machine. It doesn’t have to be a complicated one; straight stitch and “zig-zag” (looks like linked Z’s) are enough for most projects. Our sewing machine at home is a little more complicated; it does embroidery and all sorts of fancy stitches, has a buttonholer, and could probably clean windows and cook breakfast if I punched in the right code. But mostly I just use those two standard stitches. You’ll definitely need tension and stitch length control, but since those features have been in just about every sewing machine made this century, it scarcely bares mentioning.
Some may argue that a sewing machine isn’t necessary, and instead endorse only using needle, thread, and (if necessary) thimble. To those people I say “have fun.” Granted, there are some things that a sewing machine can’t do (slip-stitching comes to mind immediately), but most sewing, especially long things like inseams or straps, a machine is virtually essential.
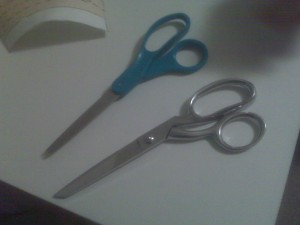 Next, we’ve got shears. Yes, good old scissors. You can start out with a single pair, but most seamsters (yes, that’s the real word for “male seamstress”, because “tailor” is a very different concept) will have at least two, because cutting paper dulls shears pretty quickly, and having to wait for the knife sharpener to give your tools back is a drag. This picture shows my “fabric” shears, the silver ones. They have one edge that’s called a knife edge (it’s smooth and sharp) and one edge that’s lightly serrated, for gripping fabric that might otherwise slide away. These shears are used only for fabric and thread, nothing else. The other set of shears in the picture are the scissors that I use for everything else: cutting out the pattern pieces, cutting out any extra paper that I need if I’m expanding or resizing a pattern, shortening zippers, etc.
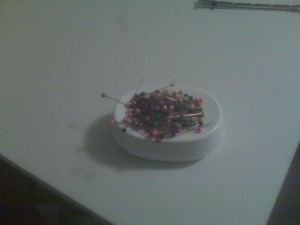
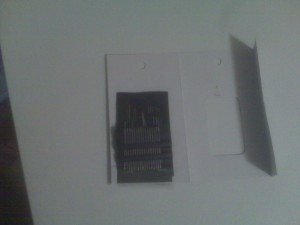 Let’s see, what else? Ah. Sharp pointy things. You’ll need both of these; the left is a set of pins (the package will likely be marked “sharps”, because apparently they also make dull pins?) and the right is a set of needles. Heather says this is a “pretty crappy set of needles”, but they hold thread and push it through fabric, so I’m reserving my judgment for now. The pins that I got have balls on the end of them; that makes them easier to grip and push through several layers of fabric, like the canvas that I’m using on my current project. There are also dressmaker’s pins, which are T-shaped. Either one will work; it’s a matter of personal preference. A pincushion isn’t strictly necessary, but it’s a lot easier than using a cardboard box or plastic bag. My pincushion is magnetic, and with the exception of a few pins from the last box that I bought, most pins and needles will stick to a magnetic pincushion just fine. If you’ve managed somehow to inherit your mom’s (or dad’s) sewing stuff, you might have a fabric pincushion, likely shaped like a tomato and filled with rice. These work just fine; you stick the pins into the cushion instead of just dropping them onto the magnet.
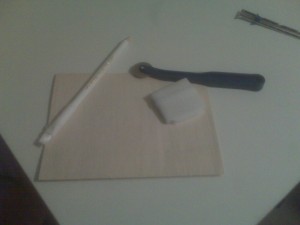 You’ll also need something to mark fabric with. There IS the option of using things like tailor’s tacks (mark dots and things with several loops of thread, which then get sliced into a bunch of individual threads) or long basting stitches, but using chalk or a pencil is a lot better. I frequently forget, even though I’ve been sewing for several years, but only 90% of the time, you’ll want to mark the “wrong” side of the fabric when you’re making your marks, especially if the fabric you’re working with can’t be washed (i.e., dry-clean only). I’ll get to what “wrong” side means when I write up my next post, which will be a step-by-step blow of a full (simple) project. Pictured here are three marking methods. The square thing is a block of tailor’s chalk. It’s in a protective case because it was nifty and only cost a buck. Tailor’s chalk typically comes in both white (pictured) and blue. Also pictured is a chalk pencil; I’ve seen these in many colors but usually use the white unless I’m working with white fabric, in which case I’ll actually just use a #2 pencil. The third thing is actually two items. The paper is chalk paper; it’s clean on one side, and covered with chalk on the other. You use the chalk wheel (the blue handle) to transfer marks from the paper to your fabric. All three of these are optional; you can definitely make do with just a pencil (or a Sharpie® if you’re feeling brave). I use all three when I work, depending on what I’m marking.
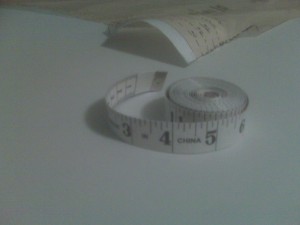 Last, but certainly not least, you’ll need a tape measure. This is a quilter’s measure, which is WAY too long for most of my needs: it’s 10 feet long. I personally recommend a measuring tape that’s at least 6 inches longer than you are around. I wear pants with a 46″ waist (yes, I’m working on making that number smaller), but my actual waist measurement is closer to 54 inches, so I wouldn’t start with a tape measure shorter than 60″. Metric markings on the back are also nice, if you happen to live somewhere that uses a better measuring system than avoirdupois (i.e., metric), or if you think you’ll ever buy or use a pattern sold exclusively in one of those countries (and not in the US).
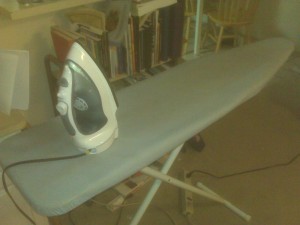 Heh, I forgot, and had to come back and add this section. I was taking pictures while Heather was working on a project of her own, and she wasn’t using an iron today, because she ironed out her fabric earlier this weekend. You really do need an iron. Chances are you’ll be working with different fabrics; some can take steam and water, and some can’t. So get an iron with a variable temperature and steam control, so that it’s easy to turn the vapor off and on. An ironing board is optional, but a lot easier than putting a towel on your kitchen table.
That’s all for this week; check back next Sunday (if I remember) for round 2, where I’ll talk about the things that are essential to most projects, but that don’t go in your toolbox.
Actually, you have to transfer marks to the right side of the fabric quite frequently. For example, when you mark pockets or buttonholes. It just depends on the pattern.